In this article I’ll guide you through how to get PowerShell and configure your environment for PowerShell scripting against Microsoft 365. For those who do not need detailed instructions:
- Install PowerShell 7 (cross-platform one)
- Install Visual Studio Code
- find and install PowerShell plugin for VSCode
- install MgGraph (Microsoft Graph) module
- install PnP.PowerShell module
- Get and configure Azure App Registration
- registration a new Azure App
- configure API permissions and get admin consent
- configure authentication
Windows PowerShell
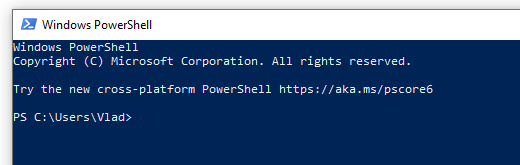
Every Windows computer comes with PowerShell pre-installed. So if you are on a Windows machine – try the following: Start -> Windows PowerShell. You’ll see:
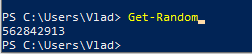
So you can type something like “Get-Date” or “Get-ComputerInfo” or “Get-Disk” or “Get-Random” and see results right away, e.g.:
But, hold on! This is not the PowerShell we need. This is so-called PowerShell 5 (classic, legacy one, nowadays called “Windows PowerShell”). Though you can use Windows PowerShell OotB, we will use new, modern, cross-platform PowerShell (for Windows, Linux, and macOS).
PowerShell
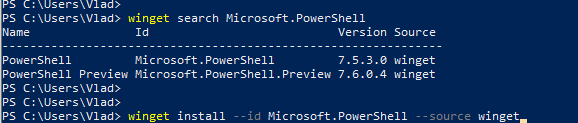
This is how nowadays called a new cross-platform PowerShell. Just “PowerShell” (or PowerShell 7, as 7 is it’s current/latest major version. Here is the Microsoft’s official guide “Install PowerShell on Windows, Linux, and macOS“. There are multiple options to install PowerShell 7 – just choose your one (you are Power User, you should figure it out). E.g. you can use your Windows PowerShell window to install PowerShell 7:
Once modern PowerShell, your Start->PowerShell experience should look like:
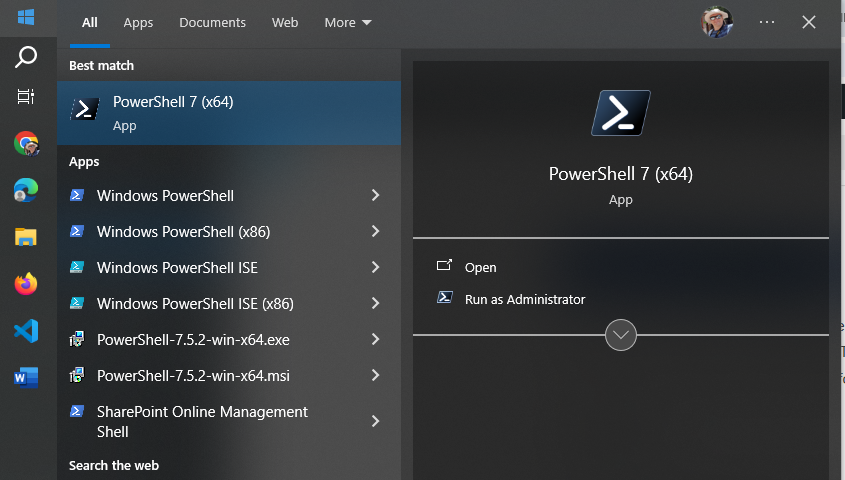
Notice that you have both – PowerShell 5 (for Windows) and PowerShell 7 (cross-platform).
Start PowerShell 7 and try something like “Get-Command” or “Get-Help”. Congratulations! Let go to the next step.
IDE – Integrated Development Environment
So far what you did – you used PowerShell cmdlets in command-line window. It is ok to use plain PowerShell window to quickly run one or a few PowerShell commands, but usually we work with scripts. A PowerShell script is a program written in PowerShell – composed of a sequence of PowerShell cmdlets, structured with logic to perform specific tasks. So we would need some kind of editor for PowerShell programs. Actually you can use any universal text editor – like Notepad, Notepad++ to create your code, you’d save it as .ps1 file (e.g. myFirstScript.ps1) and than run you script with PowerShell. But there is a better way – using IDE. IDE stands for “Integrated Development Environment” – a developer-oriented text editor equipped with a bunch of goodies that help creating and debugging code.
Visual Studio Code
One of the most popular IDE is Visual Studio Code (or vscode) – a free open-source IDE from Microsoft. You can get it from code.visualstudio.com – just download it and install it.
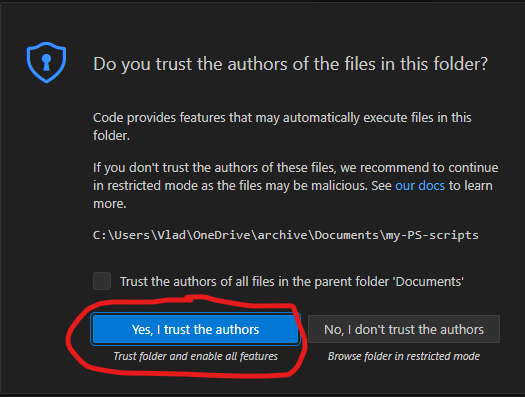
I’d recommend you to take some brief vscode introduction lessons – like this one from Microsoft. VScode can be used to code in many programming languages – Python, C#, Javascript etc. We will be using it to code in PowerShell. I’d recommend to create a new folder for your PowerShell scripts, and from VSCode open a folder. After you trust yourself – you’ll see something like:
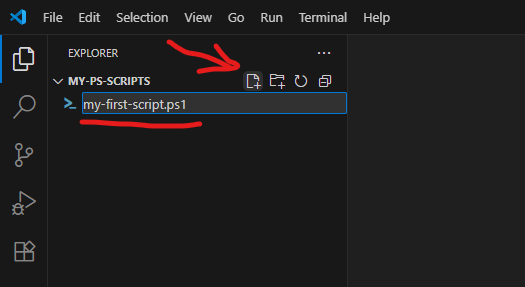
Using “New file” icon – create a new file, name it e.g. “my-first-script.ps1” (.ps1 extension is required).
PowerShell plugin
VSCode will realize that you are coding in PowerShell and suggest you to install a PowerShell plugin (or you can install it manually):
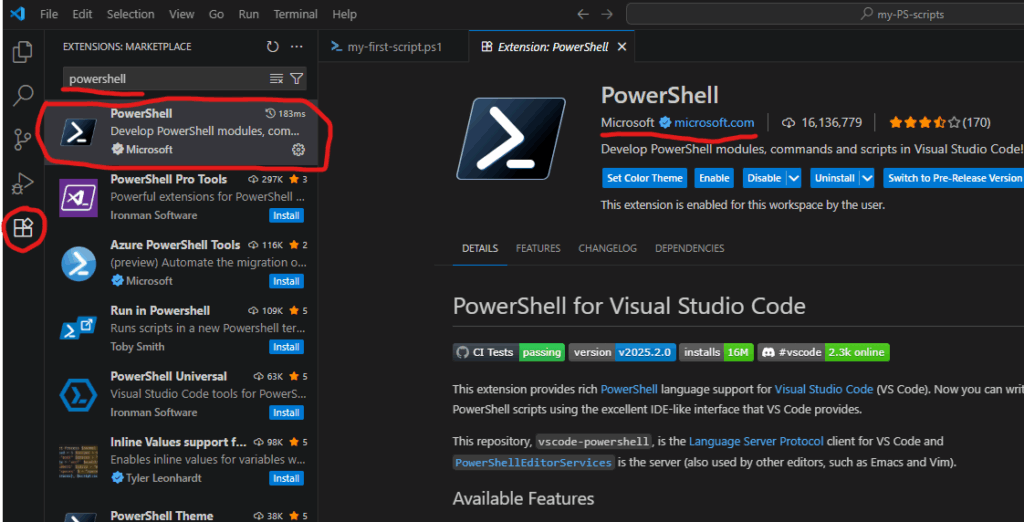
PowerShell plugin is the last piece we need to start scripting in PowerShell.
PowerShell Modules
Technically, what we already installed – enough to start coding for SharePoint (e.g. calling Microsoft Graph API via built-in Invoke-RestMethod), but there are some much more convenient ways – using modules.
PowerShell is built around modules. Every command you use is provided by a module. PowerShell includes built-in modules out of the box that offer essential cmdlets (such as Get-Host). However, to work with Microsoft 365 services, you’ll need additional modules that contain cmdlets specifically designed for interacting with Microsoft 365. There are modules to work with Teams, Exchange, SharePoint, Entra Id etc. Below are the most popular modules.
Microsoft Graph
Microsoft Graph is a unified API endpoint developed by Microsoft that allows developers and IT professionals to access and interact with a wide range of Microsoft 365 services and data. It acts as a gateway to data stored across Microsoft services. Utilizing Microsoft Graph from PowerShell code is better done with Microsoft Graph PowerShell SDK. So check it out and install.
PnP.PowerShell
The other very popular and useful module is PnP.PowerShell. PnP is an open source community backed by Microsoft (but PnP products are not officially supported by Microsoft). The PnP team does an excellent job of developing and providing a wide range of tools, SDKs, documentation, learning videos, and other resources to help developers work with Microsoft 365 efficiently. For PowerShell developers they maintain PnP.PowerShell module. So please go ahead and install it as well.
Authentication and Authorization
To work with Microsoft 365, the first step is authentication – essentially proving that you are actually who you claim to be (via providing login name and password or fingerprint etc.). Once you authenticated to Microsoft – you can access resources if you have permissions and cannot access others because you do not have permissions provided. This is called authorization.
This is true for your interactive experience with Microsoft 365 via browser, or Teams app etc. The same is true when you access Microsoft 365 programmatically – via PowerShell code. You need to authenticate and being authorized.
For smooth authentication and authorization to Microsoft 365 from your PowerShell code you’d need so called App Registration properly configured. App Registration is where API permissions and authentication methods are specified.
There are two authentication methods most commonly used in programming – interactive and non-interactive. Interactive authentication – is when a program acts on behalf of a user (e.g. you as a current user). The other method is used when your program needs to work unattended (without user presence) – on behalf of an application itself with it’s own permissions. You’d need separate app registration for each of these methods.
Interactive Applications
Interactive programs is what we will mostly use in this “PowerShell for Power Users” series of tutorials. Interactive login require delegated API permissions configured in the App Registration and proper authentication configuration Authentication blade. When your interactive program works – it’s effective permissions are the intersection of your personal permissions and permissions specified in the app registration.
Here is how to get an app registration, configure delegated API and authentication.
Non-Interactive Applications
Non-Interactive programs (also called daemon apps or background services or scheduled jobs etc.) are used mostly used by admins for tenant-level automation. But it is possible to automate something for a specific site, e.g. one of the common scenarios – data analytics can automate pulling some data from SharePoint site into e.g. Azure Data factory via pipeline. Non-Interactive authentication require application API permissions configured in the App registration and a secret generated or certificate uploaded. When a non-interactive program works – it’s effective permissions are the permissions specified in the app registration.
Here is how to get unattended access for a specific SharePoint site with Sites.Selected.