This article address “Orphaned Users” in SharePoint and applies mostly to medium and large tenants.
The problem statement
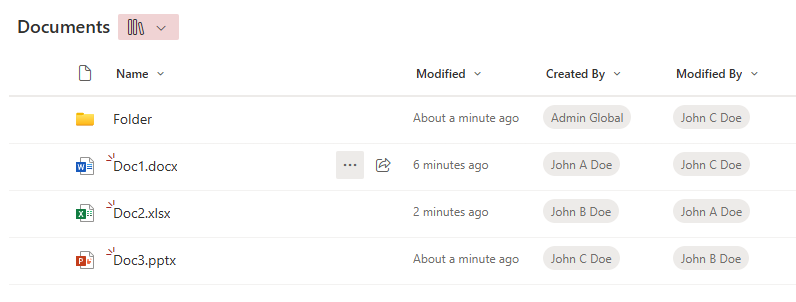
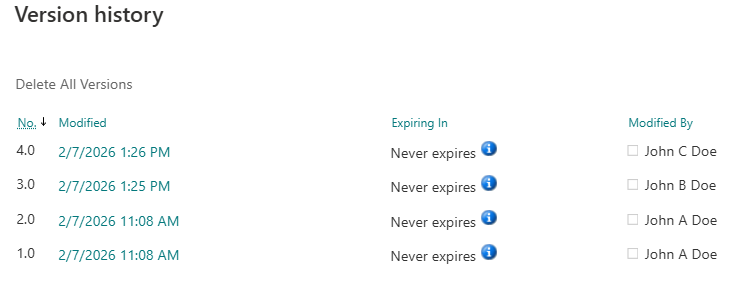
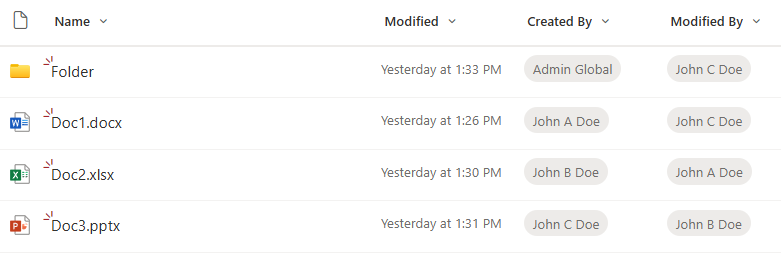
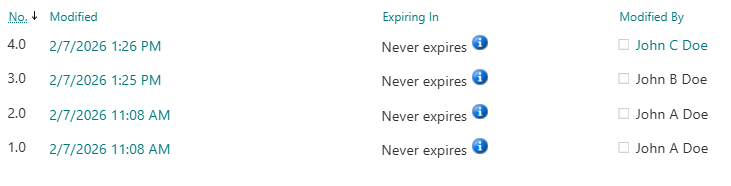
Orphaned users are user accounts that no longer exist in Entra ID (Azure AD) but still appear inside Microsoft 365 SharePoint or OneDrive sites, specifically in the User Information List (UIL). A SharePoint User Information List (UIL) is a hidden system list that exists in every SharePoint site collection and stores cached profile information about users who have interacted with that site. In short about orphaned users and UIL: The identity is gone, but its footprint remains.
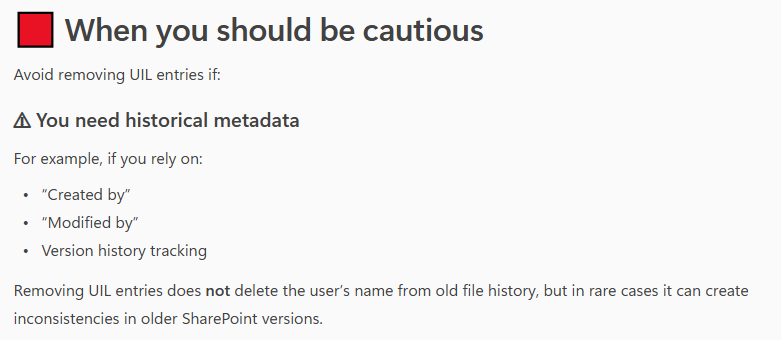
Why Orphaned Users Must Be Removed?
Orphaned users should be eliminated not only because their presence in sites confuses active users, but mostly because they cause “User ID Mismatch” issues when UPNs are reused.
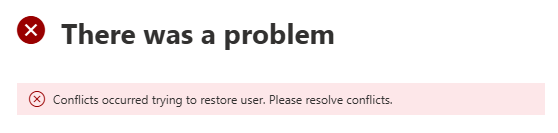
What is a “User ID Mismatch” issue in SharePoint?
User ID Mismatch is a known problem in SharePoint. It happens usually when a user account is deleted from the directory, and then a new account is created with the same UPN (re-used user principal name). Symptoms are: a user is provided with the access to the site, but still cannot get access.
The reason behind it is that SharePoint caches users data in the UIL, including not only UPN, but also Entra Id user object Id. So when a re-used UPN tries to access the site – SharePoint does not allow access, because even if UPN is the same – Id is different – e.g. SharePoint treats user as a different one. So access needs to be re-provided. And this is where the actual issue happens. When a site owner shares the resource with a new user (or approves access request) – Microsoft does dot update the UIL with the new user ids. So for the user and for the site owner it looks like access was provided, but in fact it was not.
How do we remove Orphaned Users
Microsoft provides a “fix”, but this solution is really weak as it allows only to remove one orphaned user from one site reactively. Here are some more details: “Fixing SharePoint User ID Mismatch Issue“.
Can we address the issue proactively, tenant-wide (all users, all sites, before the issue happens)? Probably – yes, but it takes a lot. Here are some more details: “Preventing SharePoint User ID Mismatch: a Tenant‑Wide Approach“. In a nutshell solution is at the moment of an employee offboarding – when a user account is deleted from directory (Entra Id) – we need to remove that user from all sites UIL they had access to. But how? And the other question: is it safe?
How do we remove deleted Entra is users from all SharePoint sites? This is a huge problem, as there is no native (out-of-the-box) Microsoft’s tools or reports to get all sites a specific user has access to. But here is where a 3-rd party tools might help. E.g. SysKit Point – with it’s “Orphaned Users” policy or ShareGate.
Is it safe to remove all orphaned users from all sites in SharePoint? Though Microsoft did not publicly say “yes” (at least I have not seen it), a high-skilled SharePoint support engineers says yes, generally it’s safe if you do it correctly. My research on the question says the same – yes, it is safe (“Is It Safe to Remove a User from a SharePoint UIL?“).
Can we just turn the SysKit’s “Orphaned Users” policy on? In small tenants – yes, in new tenants – yes. But your tenant is not new and not small – you probably already have tens or hundreds of thousands of orphaned users. Unfortunately, in SysKit there is no options to implement the policy in chunks – so we do orphaned users clean-up against test sites, then pilot, then step-by-step all other sites. Also the “orphaned users” report just fails due to enormous amount of data.
So the idea is to do an initial clean-up in the environment – gracefully remove all existing orphaned users before implementing “Orphaned Users” policy. This is exactly the topic of this KBA.
Initial Clean-Up of Orphaned Users in large Microsoft 365 tenants
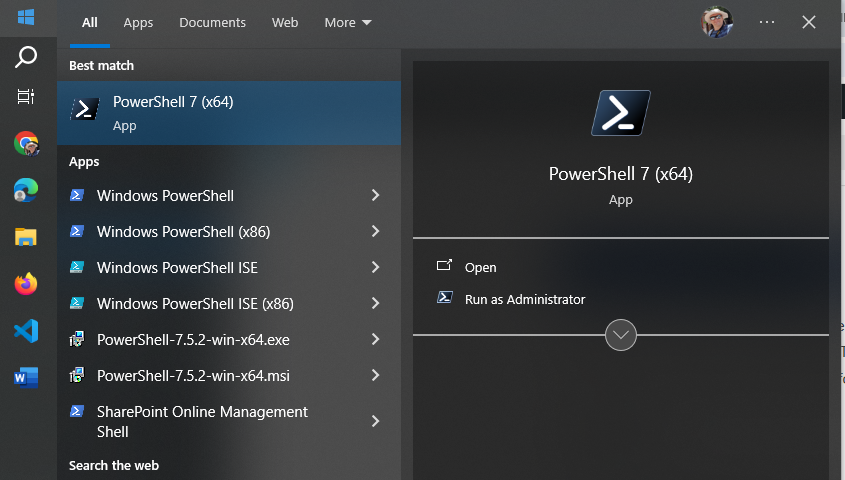
A controlled, script-based clean-up must be completed before the Orphaned Users policy can be safely enabled. PowerShell is identified as the primary tool for this effort.
Below is a draft (preliminary considerations) – to be tested/proved/updated.
Scale of the Problem (sample large Microsoft 365 tenant):
- Approximately 500,000 sites (~200k SharePoint + 300k OneDrive sites)
- Approximately 500,000 orphaned users
- Approximately 300,000 normal users
Key Constraints and Challenges
- No existing report that maps orphaned users to sites
- Full enumeration of sites and users is expensive and time-consuming
- Microsoft throttling limits must be respected
- Some sites have extremely large User Information Lists (UILs)
- Orphan detection must not rely on UPNs due to reuse
- Processing must be resumable and trackable
High-Level Strategy
The clean-up approach must:
- Support piloting and phased execution
- Reduce orphaned user count enough for SysKit reporting to function (no need in total “zero orphan” cleanup)
- Minimize tenant-wide risk
Recommended initial strategy:
- Exclude new sites and external sites
- Identify large sites and process them separately
- Begin with medium-sized sites
- Validate approach using small but active sites before scaling
Execution Model
For each site processed:
- Retrieve users from the site’s User Information List (UIL)
- Check each user to determine orphan status
- Remove orphaned users immediately
- Avoid report-only runs except for limited analysis
Deleting orphans immediately avoids duplicate scanning and unnecessary re-validation.
Orphan Detection Approach
Preferred identifier: Entra ID Object ID. UPNs must not be used to determine orphan status due to reuse.
Options considered:
- Query Entra ID for every user
- Accurate but expensive
- Repeats checks for the same users
- Maintain a cached list of existing users
- Risk of missing newly added users
- Large list reduces efficiency
Recommended technique:
- Maintain a list of orphaned users by Entra Object ID
- If Object ID is known orphaned, it is orphaned everywhere permanently
- Check UIL user Object ID against this list first
- If unavailable, fall back to Entra ID lookup
Note: UIL does not always store Entra Object ID directly; sometimes only login name (claim) is available.
Handling Large Sites
- Get-PnPUser does not support paging
- Direct access to the User Information List (UIL) with paging is required
- Large UILs can cause failures if not paged properly
Workers and Parallel Processing
The clean-up cannot be completed with a single script run.
Expected characteristics:
- Hundreds or thousands of executions
- Parallel workers required
- Throttling must be handled gracefully
- Processing must be resumable
Worker execution options:
- Manual runs from a VM (e.g., nightly)
- Scheduled Azure jobs (Function App or Automation Account)
With multiple workers, a global STOP flag should be supported.
Tracking and State Management
Tracking is mandatory to avoid reprocessing completed work.
Tracking by user-site pairs is not feasible due to scale.
Preferred approach: Tracking by site.
Minimum tracking fields per site:
- SiteUrl
- State (Pending | InProgress | Done | Failed)
- LastProcessedDateTime
- AttemptCount
- LastError
- Metrics:
- UsersScanned
- OrphansFound
- OrphansRemoved
- DurationSeconds
Tracking Storage Options
- SharePoint list: not suitable at scale
- CSV:
Pros: simple
Cons: slow, co-authoring issues - SQL:
Pros: fast, reliable
Cons: complex - Azure Table Storage or Cosmos Table API: viable option
Each worker:
- Takes a site
- Marks the site InProgress (with a lease)
- Scans UIL in pages
- Removes orphaned users
- Logs actions and metrics
- Marks site Done
Reused UPNs and User ID Mismatch
Because the tenant contains many reused UPNs:
- UPN must not be used to determine orphan status
- Entra ID Object ID must be used wherever possible
Deleting users by site user ID or login name is safe because reused UPNs are not added to UIL until the previous orphan entry is removed.
An alternative approach is to skip reused UPNs entirely:
- This is safe from a risk perspective
- But it misses an opportunity to fix User ID Mismatch issues
This tradeoff may be acceptable if performance gains are significant.